

Learning how to set up old iPhone as new phone is a simple process that clears out personal data and gives the device a fresh start. Whether you are keeping the device for yourself or handing it to someone else, this process wipes the memory clean so it acts like it just came out of the box. Following a few clear steps will help you reset the device safely without losing any important memories or contacts.
Preparing Your Old iPhone Before the Reset
Before you begin the reset process, take a few minutes to protect your information. Erasing a phone will remove all photos, messages, contacts, and personal files permanently. Taking the proper preparation steps ensures that none of your valuable data is lost during the transition.
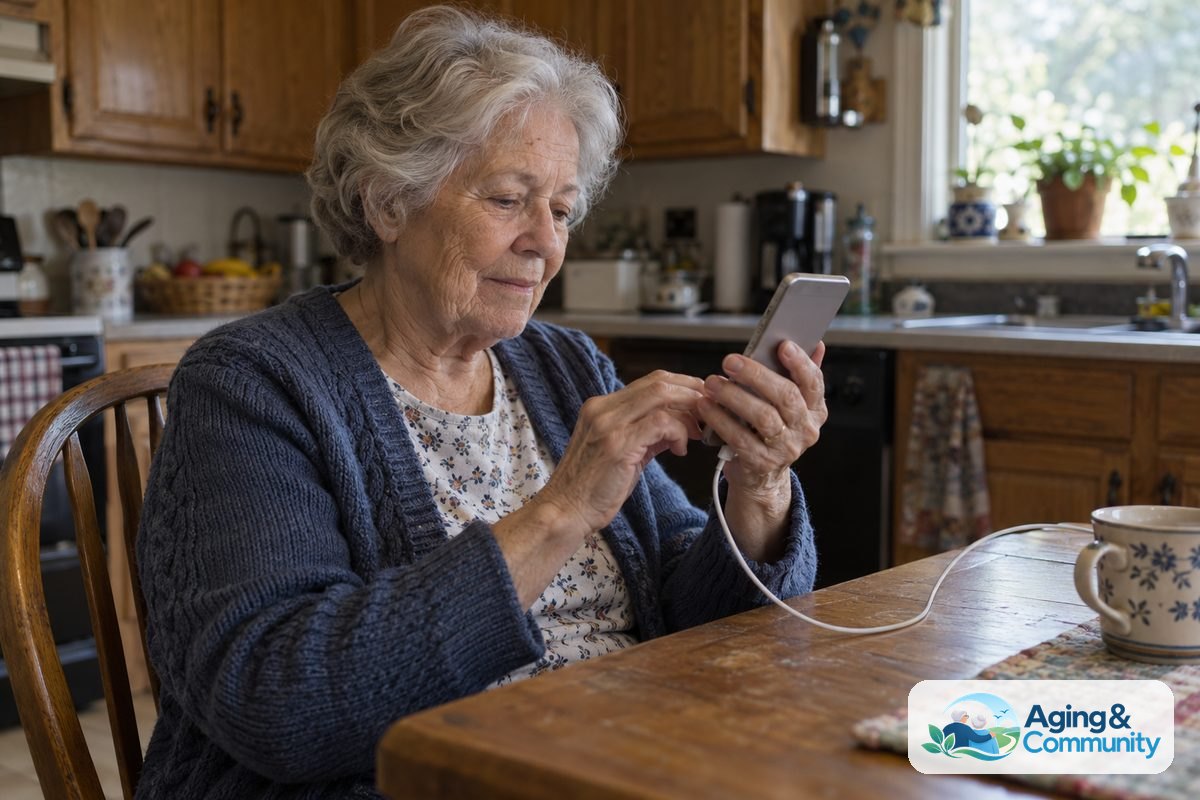
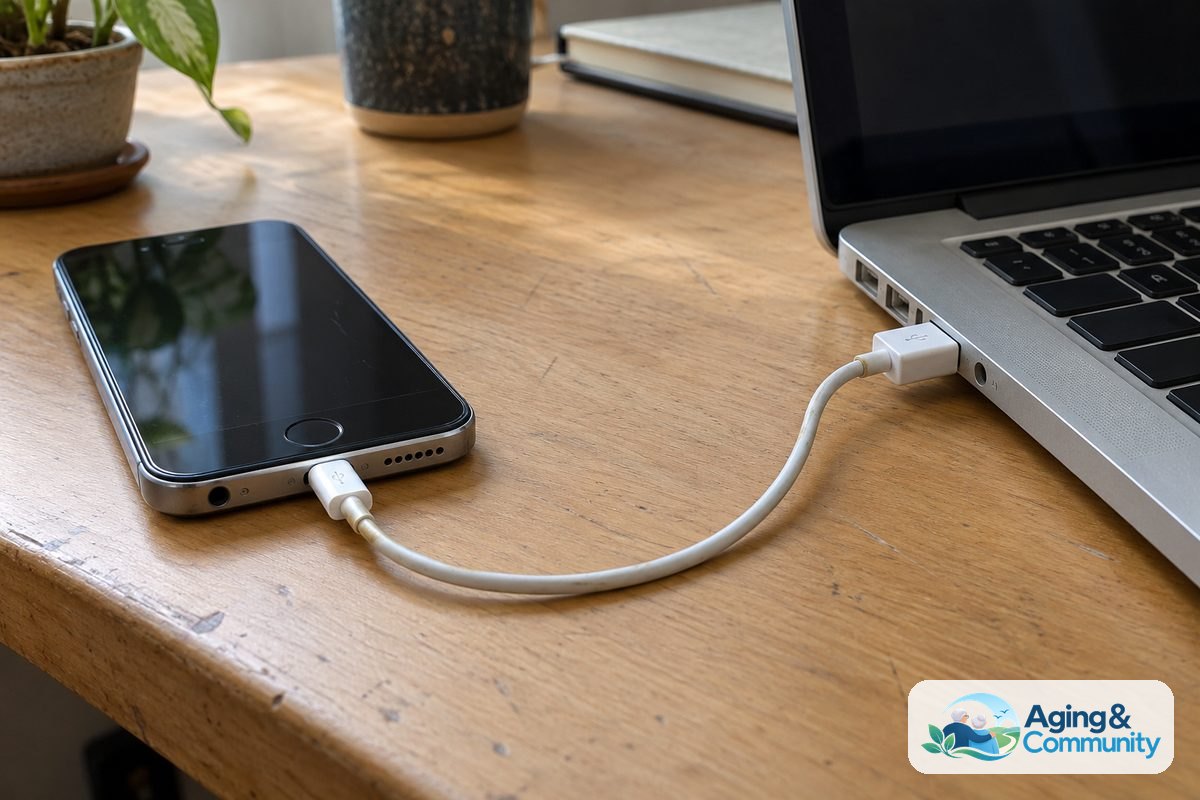
First, make sure your phone connects to Wi-Fi and has plenty of battery power. It is a good practice to plug the device into a wall charger while you work. If the battery runs out during a reset, it can cause software errors that take extra time to fix.
Next, back up your data to the cloud or to a computer. If you plan to keep your pictures and phone numbers on another Apple device, saving a current backup is essential. You can verify your backup by opening your Settings app, tapping your name at the top, and selecting your cloud storage option.
Finally, turn off the feature that tracks your phone. Apple includes an activation lock to stop unauthorized people from using lost devices. If you want to know how to set up old iPhone for new user safely, you must sign out of your personal Apple account so the next person can log in without issues.
How to Erase the Old iPhone Completely
Once your backup is complete, you can safely erase the phone. This step completely removes your personal accounts, passwords, and downloaded apps. It restores the operating system to factory conditions.
- Open the Settings app on your iPhone screen.
- Scroll down slightly and tap on General.
- Scroll all the way down to the bottom of the list and select Transfer or Reset iPhone.
- Tap the option labeled Erase All Content and Settings.
- Read the summary screen to confirm what will be removed, then tap Continue.
- Enter your device passcode if prompted by the screen.
The screen will turn black and display the white company logo with a progress line underneath. This process usually takes between five and fifteen minutes. Do not press any buttons or unplug the phone while the screen is working on this task.
Beginning the New Setup Process
When the erase process finishes, the device will restart and show a welcome screen with the word hello in several languages. This greeting indicates that the device is now ready to be configured as a brand new device.
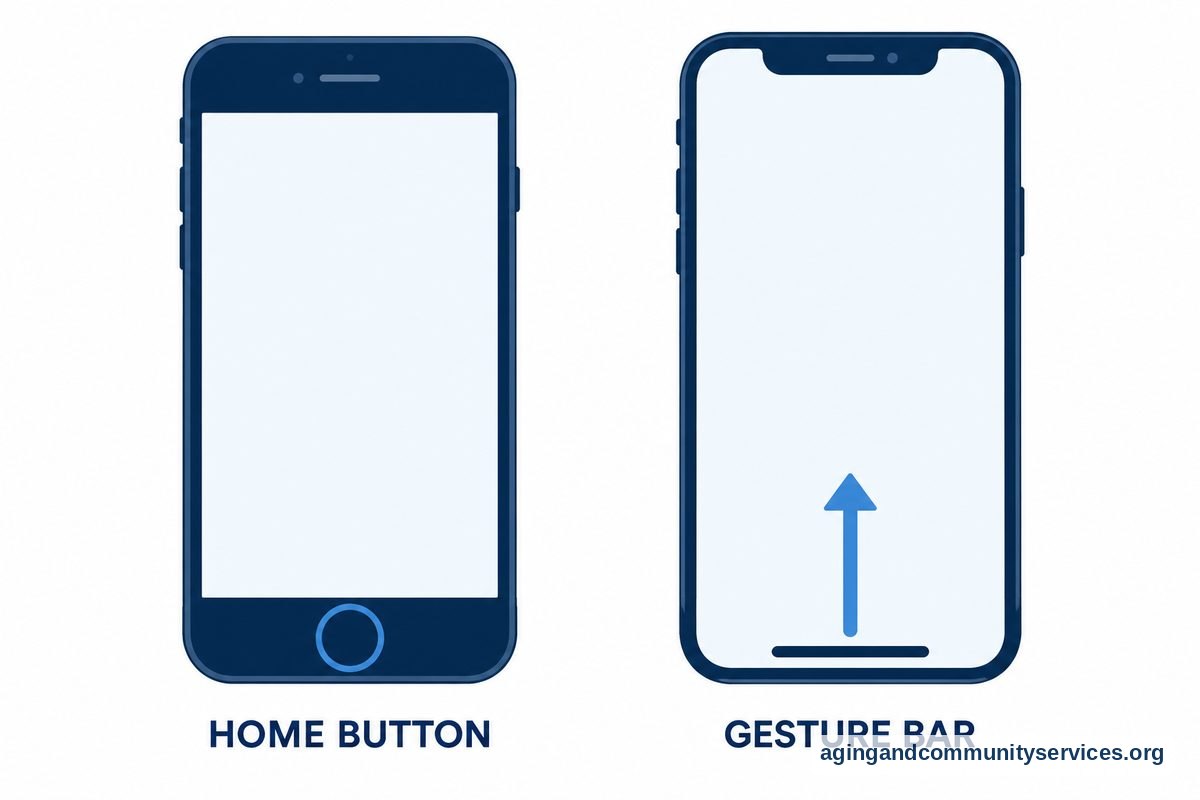
Swipe up from the bottom of the screen or press the main physical button below the screen, depending on the model you have. Select your preferred language and choose your country or region. These choices ensure the phone displays the correct time, date format, and number styles.
On the next screen, you will see an option for a quick automatic setup. Because you are learning how to set up phone features manually, choose the option to set up manually. This manual choice gives you total control over every feature you activate.
Connect the device to a secure home wireless network by selecting your network name and entering your password. An active internet connection is necessary to activate the phone and register it with mobile networks.
Creating a New Identity for the Device
After connecting to the internet, the phone will guide you through setting up screen security and account details. You can set up facial recognition or a fingerprint reader, find options that fits your hearing device needs, or choose to configure these features later in the settings menu.
Create a six-digit or four-digit passcode that is easy to remember but hard for strangers to guess. Write this code down in a secure home notebook so it does not get forgotten. This code protects the phone whenever it is turned on or restarted.
When you reach the screen titled Apps & Data, you will see several choices for how to load information onto the phone. Select Don’t Transfer Apps & Data. Choosing this option is the key step that allows the phone to function as a clean slate without carrying over clutter from the past.
Now you can sign in with an existing Apple account or create a brand new one for free. If you are preparing the device for a family member, consider reviewing basic iPhone settings for seniors to make sure the account setup fits their daily lifestyle.
Adjusting Basic Settings for Comfort and Ease
Once you reach the primary home screen, taking a few minutes to customize the display can make daily use much more enjoyable. Standard factory settings often display small text and quiet alert sounds that can be difficult to notice.
Open the Settings menu and tap on Display & Brightness. Here, you can adjust the text size using a simple slider bar. Turning on bold text also makes words much clearer to read across all apps, text messages, and web browsers.
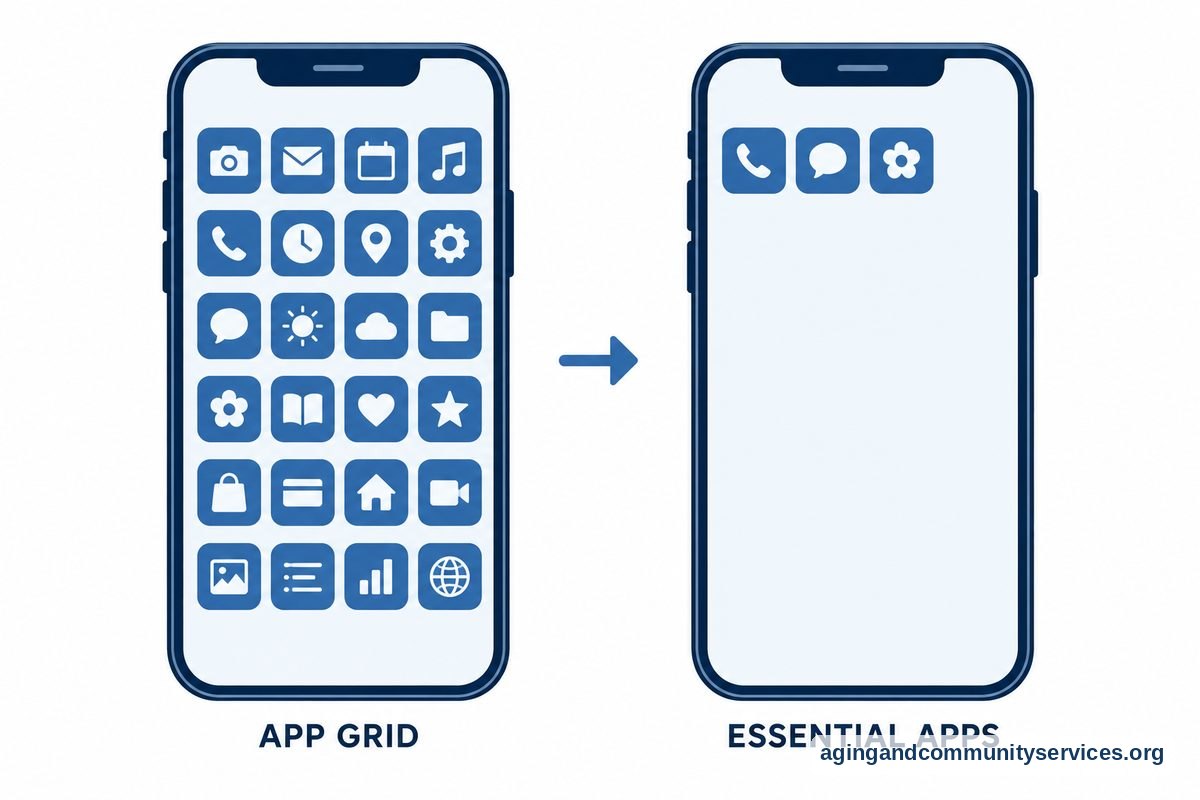
You can also explore options to make iPhone easy for elderly family members by organizing the primary icons. Place essential tools like Phone, Messages, and Photos on the very first page of the home screen, and move unused apps into folders or off the main screen entirely.
Reliable communication devices play a helpful role for older adults who want to stay connected with family and community support. Having a working telephone close at hand supports independent living, which connects closely with broader community initiatives for aging in place safely and comfortably.
What to Do Next
Now that your phone is fresh and ready for daily use, there are a few practical actions you can take to keep it running smoothly and securely.
- Insert an active cellular SIM card or contact your wireless carrier to turn on digital cellular service so the phone can place calls away from home Wi-Fi.
- Add your primary emergency contacts to the Favorites list inside the Phone app so you can reach loved ones with a single tap.
- Set up Medical ID in the Health app to list emergency contacts and basic health notes that first responders can read from the lock screen.
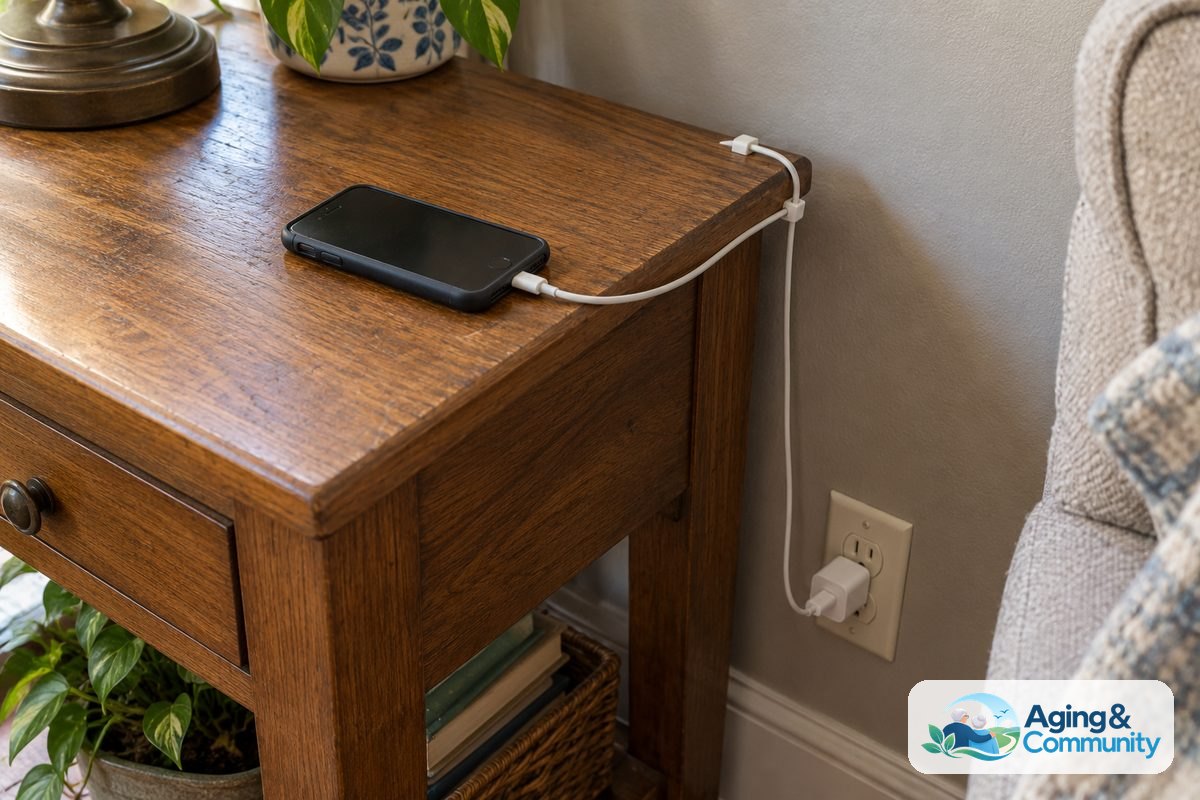
- Find a dedicated, safe charging spot near a table or counter where the phone can sit overnight without creating tripping hazards from loose cords.
- Check the speaker volume in the Sounds menu to confirm ringtones are set loud enough to hear from another room.
Frequently Asked Questions
Do I need a SIM card to set up an old iPhone?
You do not need an active SIM card to complete the basic software setup on an iPhone. You can connect to Wi-Fi to download apps, browse the internet, and make video calls. However, you will need a SIM card or an active cellular plan later if you want to make traditional phone calls or send text messages outside your home.
Will resetting the phone delete photos from my other devices?
Resetting the old phone will not delete photos from your other devices as long as you properly sign out of your cloud account or choose the erase option directly from the Settings menu. The reset only wipes the files stored locally inside that specific physical phone.
Can I set up an old iPhone without creating an Apple account?
Yes, you can skip the Apple account step during the initial setup process. However, having an account is recommended because it allows you to download new apps from the official store and back up your contacts. You can always create or add an account later in the device settings.
What should I do if the phone asks for a previous owner passcode?
If the device asks for a previous passcode or Apple password after being reset, it means the activation lock was not turned off before the erase process. The original owner must sign in with their password once to release the device, or remove the phone remotely by logging into their account on a computer.