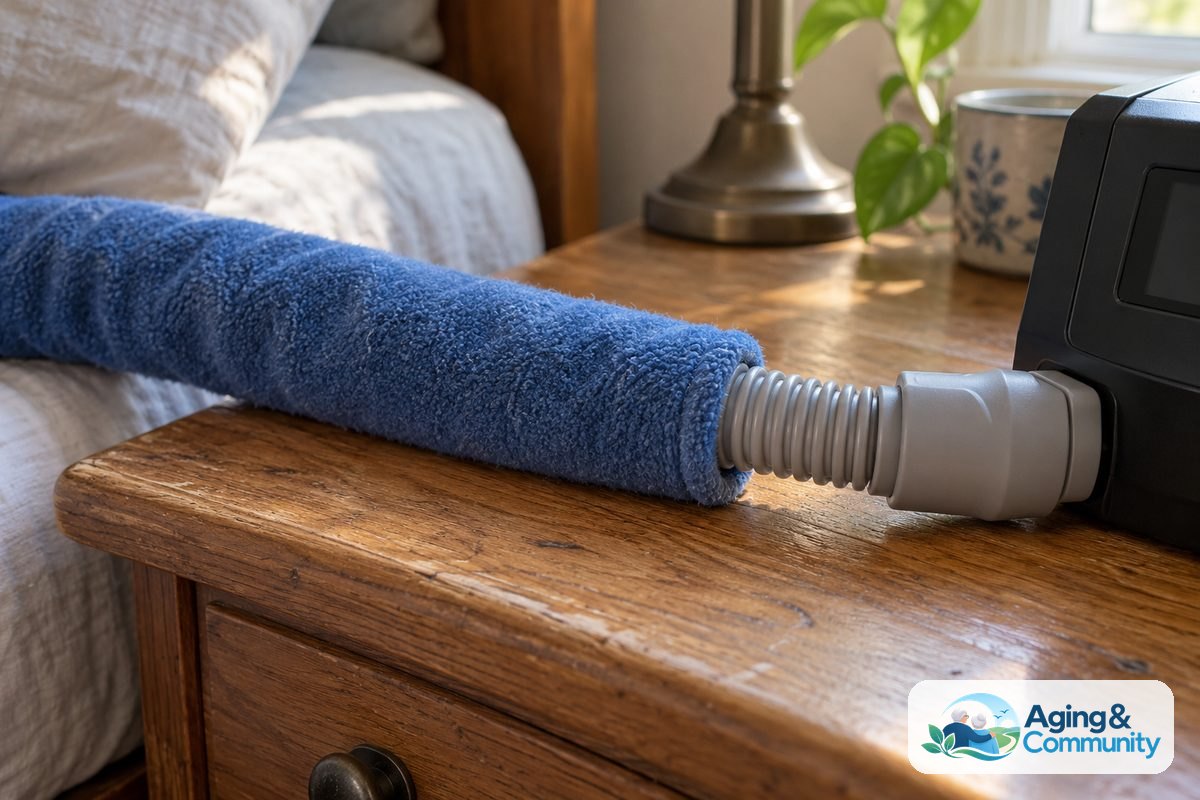

Learning how to use cpap machine equipment at home begins with setting up your bedside table, fitting your mask gently, and turning on the gentle air stream before you rest. A continuous positive airway pressure system delivers steady room air through a flexible tube to keep your breathing passages open during sleep. With a few basic habits, operating your device can quickly become a normal, comfortable part of your nightly bedtime routine.
Step-by-Step Instructions for Your Nightly Routine
Using your equipment correctly each night helps ensure your sleep remains steady and quiet. Follow these simple steps in order as you get ready for bed.
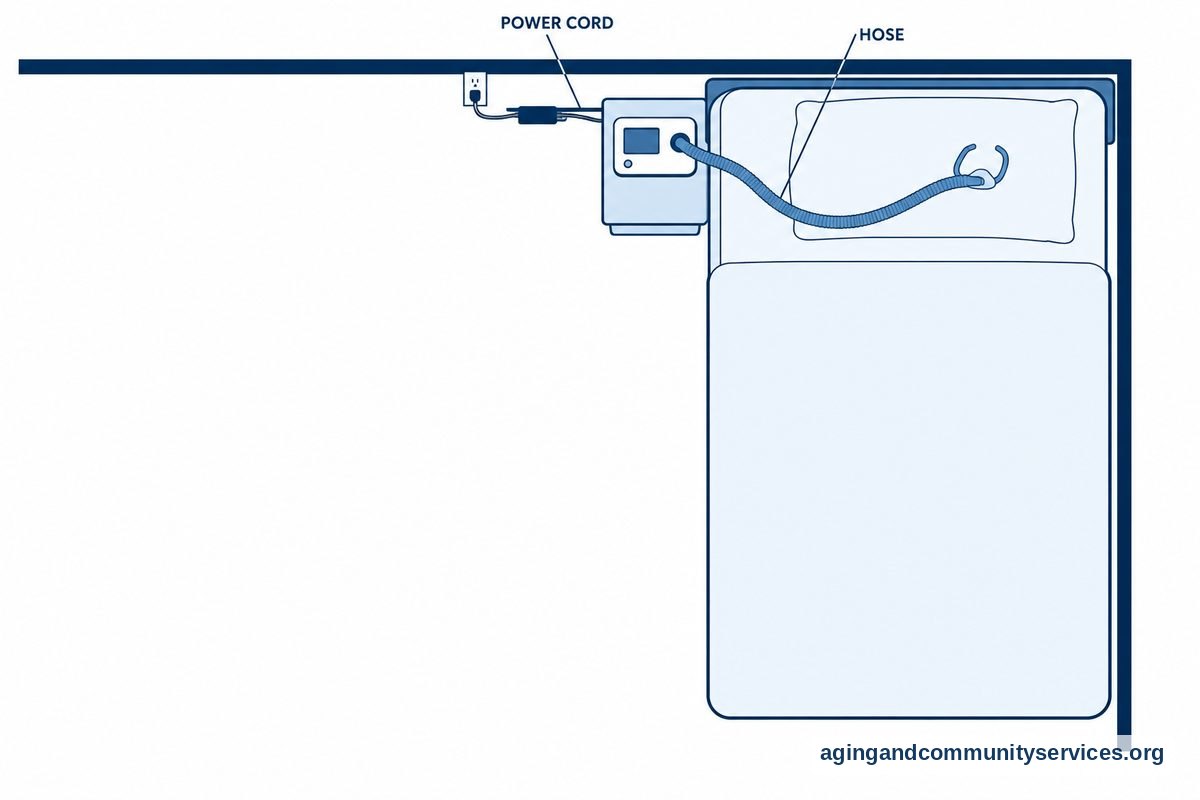
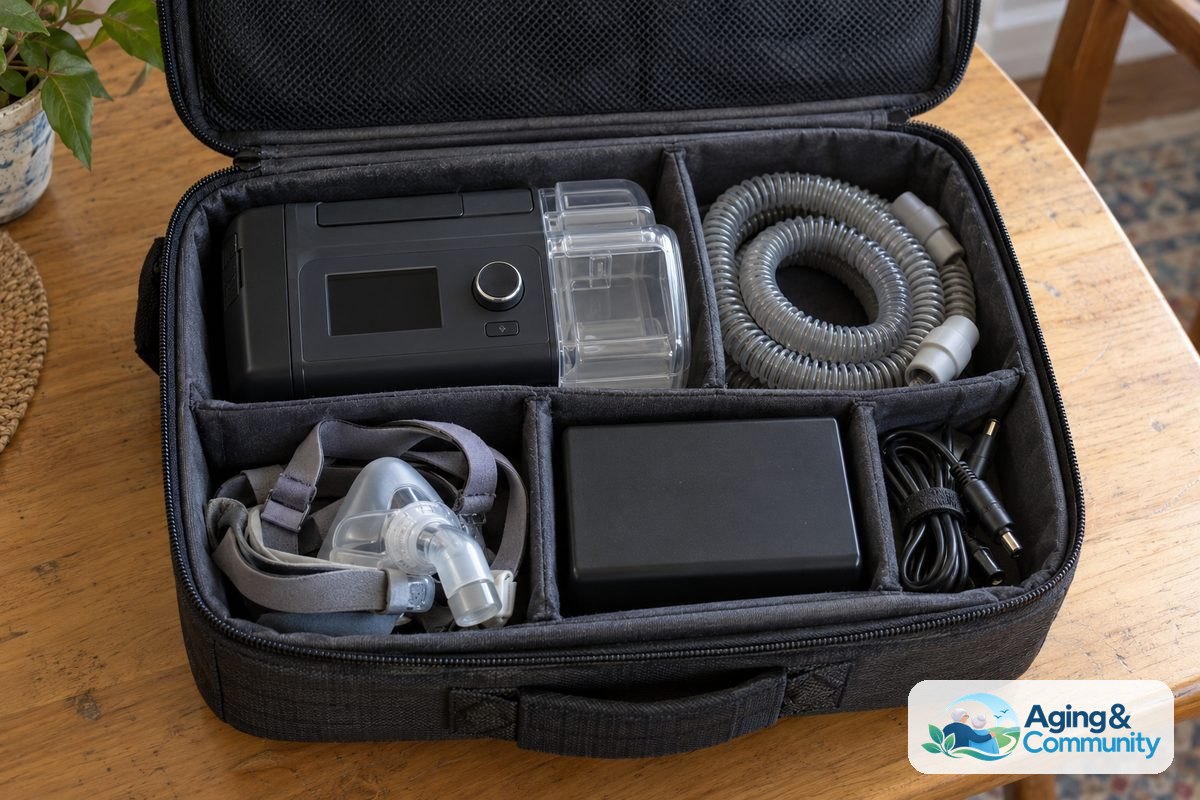
- Place the unit on a flat, stable surface. Set the machine on a nightstand or sturdy table slightly lower than your head, keeping the area clear of clutter so you do not knock it over in the dark.
- Fill the water chamber with distilled water. Open the built-in humidifier tank and fill it up to the maximum fill line, making sure not to overfill it before sliding it securely back into place.
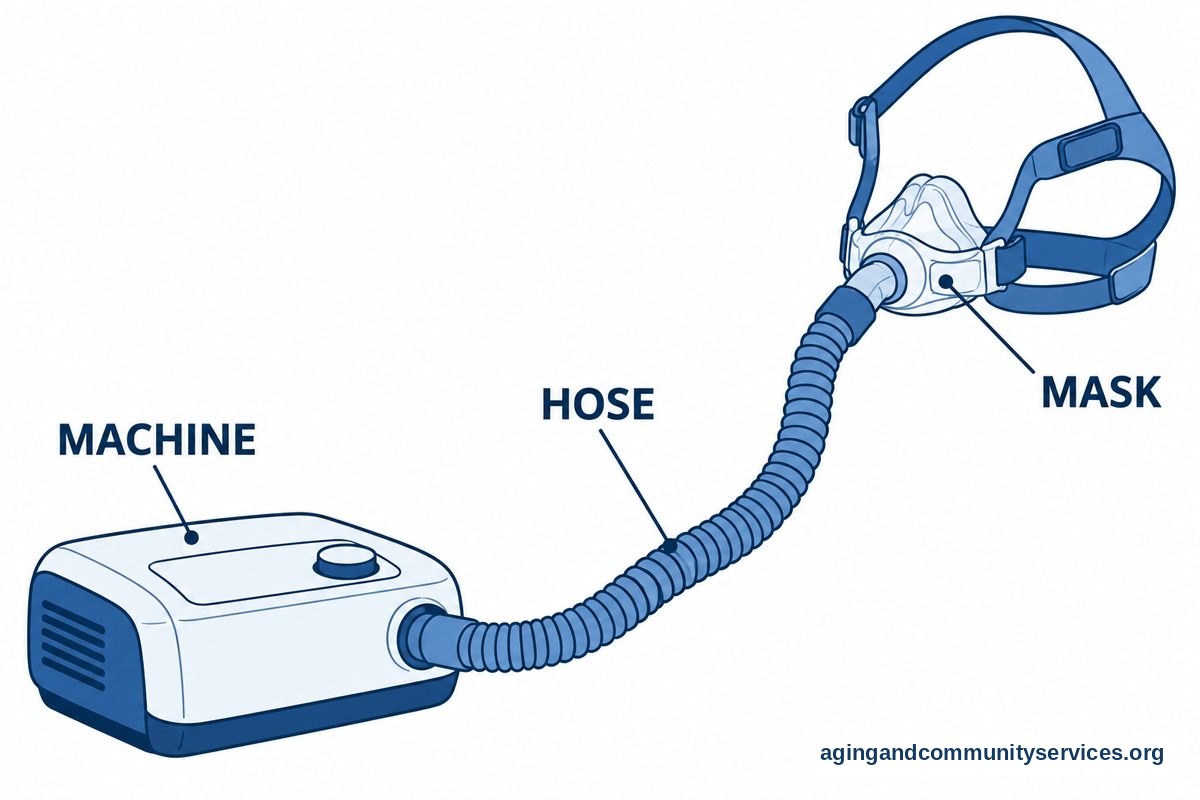
- Attach the tubing firmly. Connect one end of the long hose to the air outlet port on your machine and attach the other end directly to your mask swivel connector.
- Plug the power cord into a wall outlet. Ensure the power brick rests securely on the floor and that the cord does not cross walkways where it could create a tripping hazard.
- Position the mask over your nose or mouth. Hold the soft cushion gently against your face, then pull the fabric headgear straps back over the crown of your head without tightening them too hard.
- Adjust the straps evenly for a snug seal. Pull the side tabs until the cushion rests evenly against your skin, checking that it feels secure without pressing painfully into your nose or cheeks.
- Turn on the air flow. Press the main power button or breathe gently into the cushion if your unit features an automatic start setting.
- Use the ramp feature if needed. Press the ramp button to start the airflow at a lower, gentle pressure that slowly rises to your prescribed level as you drift off to sleep.
Common Mistakes to Avoid
Getting used to new equipment takes time and patience for older adults, whether learning hygiene tools or proper everyday bidet vs douche use. Avoiding these frequent missteps can make your nights much more pleasant.
- Overtightening the headgear straps: Pulling straps too tightly can cause skin redness, pressure sores, and leaks because the silicone cushion needs a light pocket of air to puff out and seal naturally.
- Using standard tap water: Mineral deposits from tap or spring water can quickly build up inside your humidifier tub and damage the heating plate.
- Letting the tubing drag or pull: If the hose hangs off the edge of the bed, the weight can pull the mask away from your face and break the seal as you turn over.
- Skipping basic daily cleaning: Leaving facial oils and moisture in the cushion or hose can cause slippery seals, odors, and skin irritation over time.
- Ignoring air blowing toward your eyes: A leak near the top bridge of your nose can dry out your eyes and usually means the top straps need a gentle readjustment or a different size cushion is required.
When to Call Your Equipment Supplier or Doctor
It is normal to need a few adjustments during your first few weeks of therapy. Your medical team and medical equipment supplier are there to help you succeed, so you never have to guess on your own.
Reach out to your doctor or sleep specialist if you notice persistent morning headaches, severe dry mouth, stomach bloating, or if you continue to feel unusually sleepy during the daytime. You should never change your prescribed air pressure settings by yourself. Your doctor can review the sleep data recorded by your machine and adjust your pressure levels safely through your machine settings or a remote cellular signal.
Call your medical equipment provider if you notice air leaking around the frame despite careful adjustments, or if the motor makes an unusual rattling sound. When you call, have your machine make and model number handy, along with a brief description of what you feel, such as where the air is leaking or what part of your face feels sore. If you need help coordinating medical services or finding local support resources in your community, the Eldercare Locator can connect you with trusted guidance near home.
How to Use CPAP Machine for Sleep Apnea at Home
Using your device consistently every time you sleep is the most reliable way to support your breathing passages. When you settle down for the night, the pressurized air acts like an invisible pneumatic cushion, supporting the soft tissues in the back of your throat so your airway stays open. Reviewing the initial setup details in how to choose a cpap machine and mask can help you understand how your specific mask type is designed to rest against your features.
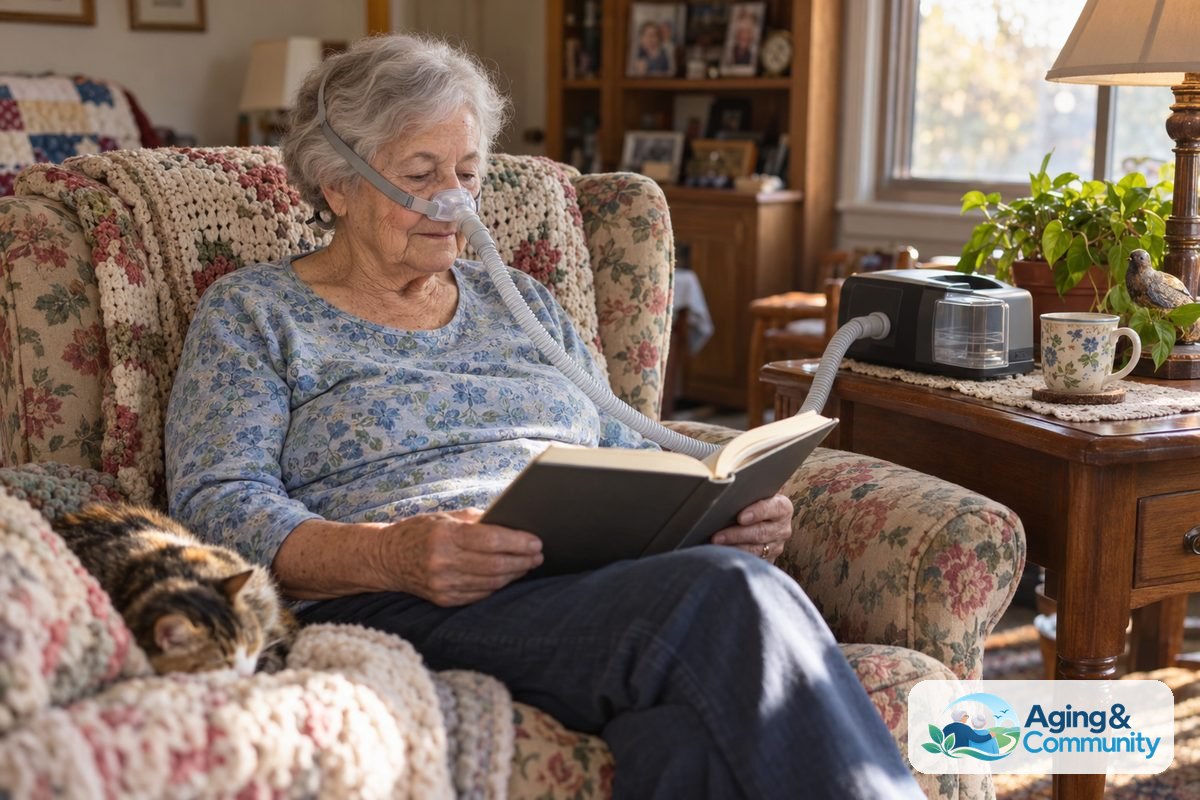
To make the device feel natural at home, consider practicing while you are awake. Sit in a comfortable armchair during the late afternoon and wear the mask while reading or watching television for thirty minutes. This low-pressure practice helps your body get used to the feeling of airflow and the mask on your face without the pressure of needing to fall asleep immediately. In addition, organizing your bedroom setup supports safe aging in place by keeping cords neatly managed and water reservoirs easy to reach from your mattress.
Tips for Videos, Travel, and Special Situations
Many people find it helpful to watch visual demonstrations when learning equipment assembly, much like learning how to use a quad cane. If you are searching for a clear video demonstration, look for official instructional videos produced directly by your equipment manufacturer or certified respiratory clinics. These presentations show the exact click-together parts, tube connections, and headgear adjustments for your specific model.
Life does not stop when you start nighttime therapy. If you catch a head cold, learning how to use cpap when congested can help you decide whether a heated humidifier adjustment or a temporary full face mask will keep you breathing easily through stuffiness. If you enjoy the outdoors, reviewing how to use cpap while camping ensures you have the right deep-cycle battery pack or direct current adapter for restful sleep away from electrical wall outlets.
Frequently Asked Questions
How to use cpap machine instructions properly every day?
Start by checking that your machine sits on a level surface with a clean air filter installed in the rear vent. Add fresh distilled water to your humidifier chamber, attach your hose, put on your headgear, and turn the air on. In the morning, turn off the airflow, empty any leftover water from the chamber, and wipe the mask cushion with a gentle, damp cloth.
How to use cpap if the air feels too dry or cold?
Most modern units include integrated heated humidifiers and heated hose options to solve this issue. You can raise the humidity setting by one level on your machine display to add more moisture to the air. If you feel water droplets pooling inside your tubing or mask, known as rainout, wrapping your hose in a fleece cover or turning up your heated tube temperature will balance the warmth.
How to use a cpap machine when I feel claustrophobic?
Feeling crowded by a mask is very common when you first start therapy. Begin by holding just the silicone cushion against your face with your hand for a minute without using the headgear straps. Next, attach the hose and turn on the air while holding the cushion, practicing slow breaths in through your nose and out through your mouth until the sensation feels calm and predictable.
How to use a cpap when I wake up with marks on my face?
Waking up with red lines usually means your headgear is adjusted tighter than necessary. Try loosening the straps slightly while lying down in your typical sleeping position with the air running, letting the silicone inflate to create a natural seal. If marks continue, look into soft fabric strap covers that wrap around the silicone headgear to protect sensitive skin.
How to use a cpap machine video to solve air leaks?
Manufacturer setup videos can show you exactly where the swivel joints and exhalation ports are located on your specific mask frame. Watching a video allows you to see how much movement the cushion can tolerate and shows how to reseat the cushion against your skin by gently pulling it two inches away from your face and laying it back down.