

Learning how to use hearing aid wax guards is a simple skill that keeps your sound clear and your devices working well. These tiny plastic screens catch earwax before it can slip into the delicate speaker inside the device. Replacing them takes less than a minute once you know the basic steps.
Earwax is completely normal and healthy for your ears. However, when it collects on the tip of a device, it can block sound from reaching your ear canal. Regular care helps older adults stay engaged with friends, hear local instructors in senior computer classes, hear the television clearly, and enjoy daily conversations without frustration.
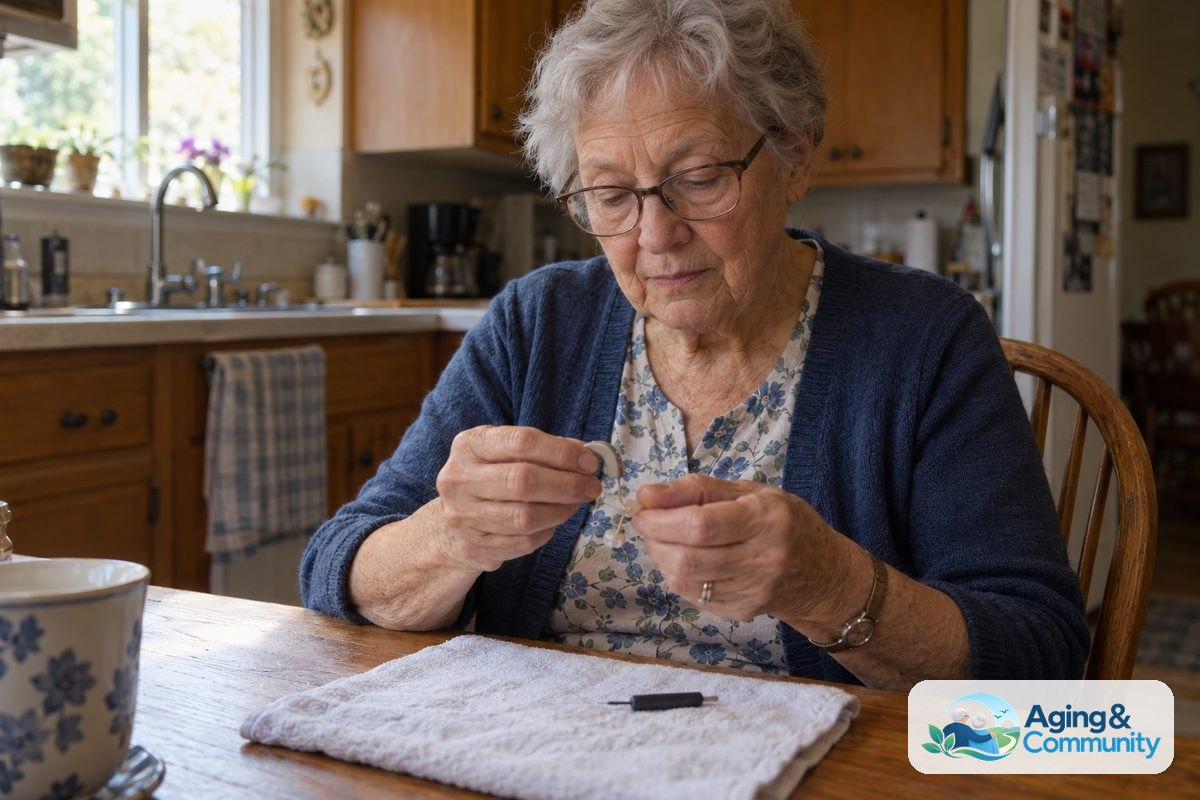
Steps to Change a Hearing Aid Wax Guard
Before you begin, wash and dry your hands thoroughly. Sit at a clean, well-lit table with a soft towel spread out flat. The towel keeps small parts from bouncing away if you drop them.
- Remove the silicone dome: Gently peel off the soft silicone tip that covers the speaker to expose the white wax guard underneath. If you are also wondering how to choose hearing aid domes that fit properly, check the size markings on your package.
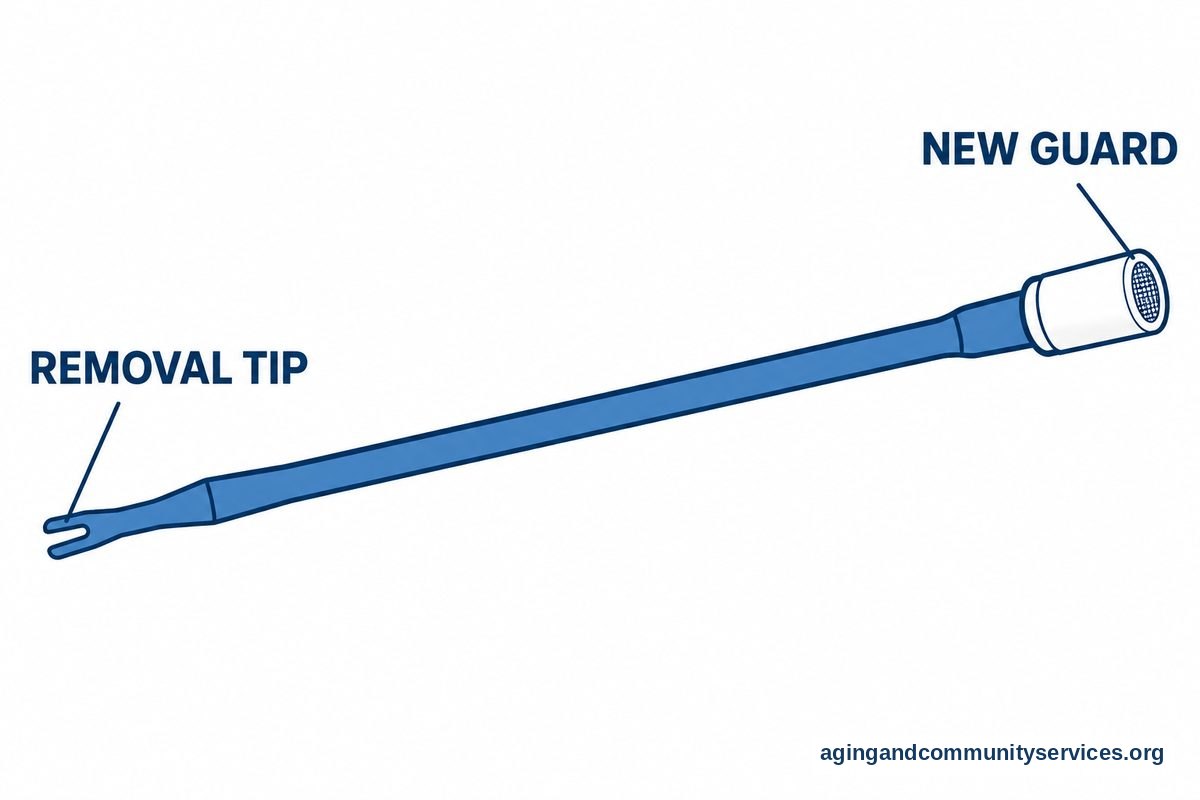
- Take out a new applicator stick: Remove one disposable stick from your package, noting that it has an empty removal prong on one end and a fresh white wax guard on the other.
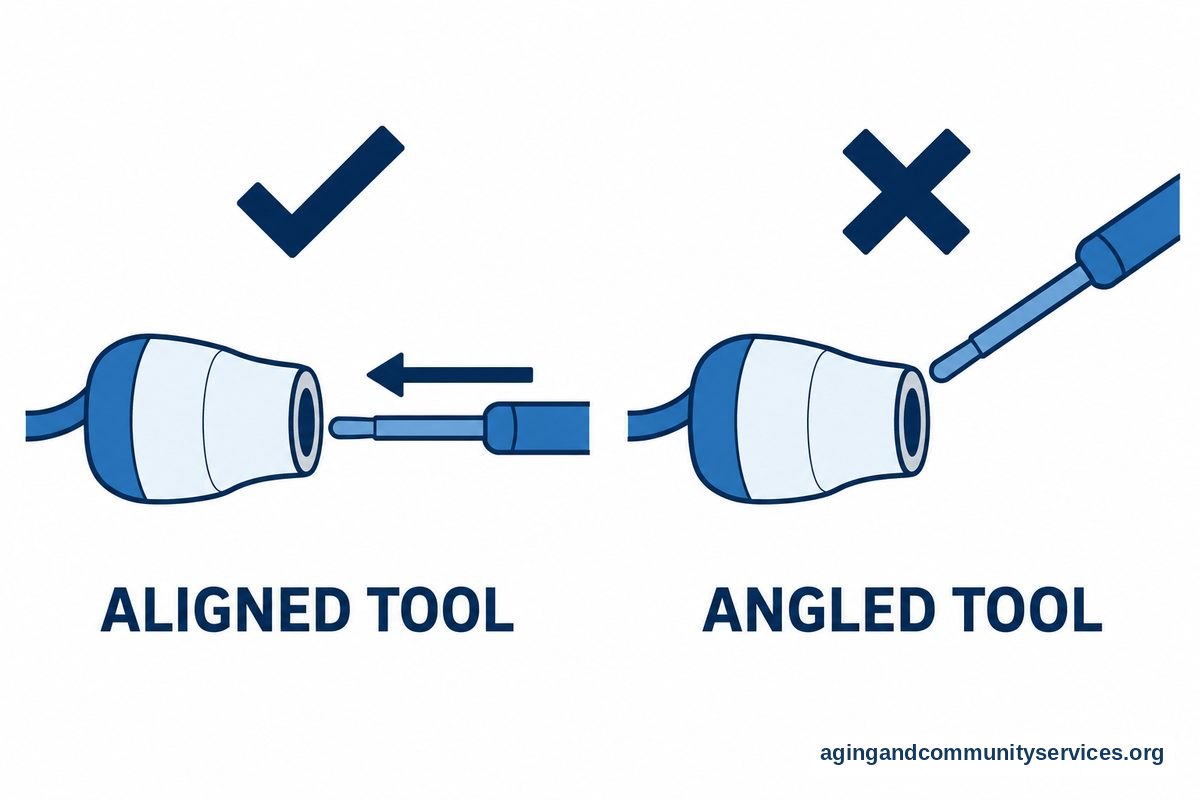
- Insert the removal tip: Push the empty end straight into the old wax guard until it clicks or seats firmly in place. Do not twist the stick while inserting it.
- Pull straight out: Draw the stick straight out of the sound outlet to remove the used guard. You will see the old white filter attached to the stick.
- Insert the new guard: Flip the stick around, line up the new white guard with the opening, and push it gently straight in. The new guard will release from the stick and stay inside the device.
- Replace the dome: Press your silicone dome back onto the speaker nozzle until it snaps firmly into place, then tug lightly to make sure it will not slip off in your ear.
Common Mistakes to Avoid
While the process is straightforward, small errors can damage the sensitive receiver or leave parts loose. Keeping a few simple habits in mind will protect your hearing aids from harm.
- Twisting the tool: Twisting the stick while inserting or removing the guard can break the plastic tip inside the speaker port. Always push and pull in a straight line.
- Forcing a mismatched guard: Different brands use different guard sizes. Forcing the wrong brand or size into the opening can damage the receiver nozzle.
- Reusing an old wax guard: Never attempt to wash and reuse a dirty guard. They are designed for single use only, and washing them can push wax deeper inside.
- Skipping the dome check: Failing to press the silicone dome completely back onto the speaker can allow the dome to detach inside your ear canal.
- Using metal needles or pins: Never try to scrape wax out of the guard with sewing needles, paper clips, or toothpicks, as sharp metal can puncture the delicate electronic speaker.
When to Seek Professional Assistance
Most of the time, changing a wax guard is an easy chore you can handle at your kitchen table. Still, there are times when an audiologist or hearing instrument specialist should step in to assist you.
Call your hearing care provider if the applicator stick breaks off inside the sound port. Do not try to fish out broken plastic with tweezers, as this can crush the sound tube. You should also check how to use hearing aid batteries or call your provider if you change the guard but the hearing aid still produces weak sound, distorted audio, or no sound at all. When you call, simply tell the receptionist that you changed the wax filter, but the device is still dead or quiet.
If you or a loved one needs help finding local transportation to a hearing clinic, the Eldercare Locator connects families to helpful community programs. Staying on top of your hearing health is an important part of overall wellness. Clear hearing helps you stay aware of your environment, which plays a helpful role when learning about falls and falls prevention around the house.
Signs Your Wax Guard Needs Replacement
Hearing aid wax guards do not follow an exact calendar schedule. How often you change them depends on how much wax your ears naturally make. Checking your devices every morning under a bright lamp helps you spot problems early.
| What You Notice | Possible Cause | Recommended Action |
|---|---|---|
| No sound at all | Completely clogged wax guard | Replace the guard with a fresh stick. |
| Muffled or dull speech | Partial wax buildup across screen | Inspect the tip and change the guard. |
| Visible yellow or brown buildup | Wax resting on the outer rim | Wipe the tip and insert a new guard. |
| Whistling or feedback | Sound bouncing off a wax plug | Check the guard and inspect ear dome fit. |
If the guard looks clean but the aid still sounds muffled, moisture may be resting inside the internal components. You can learn how to use a hearing aid drying cup overnight to draw out dampness from daily wear.

Daily Cleaning Habits That Make Wax Guards Last Longer
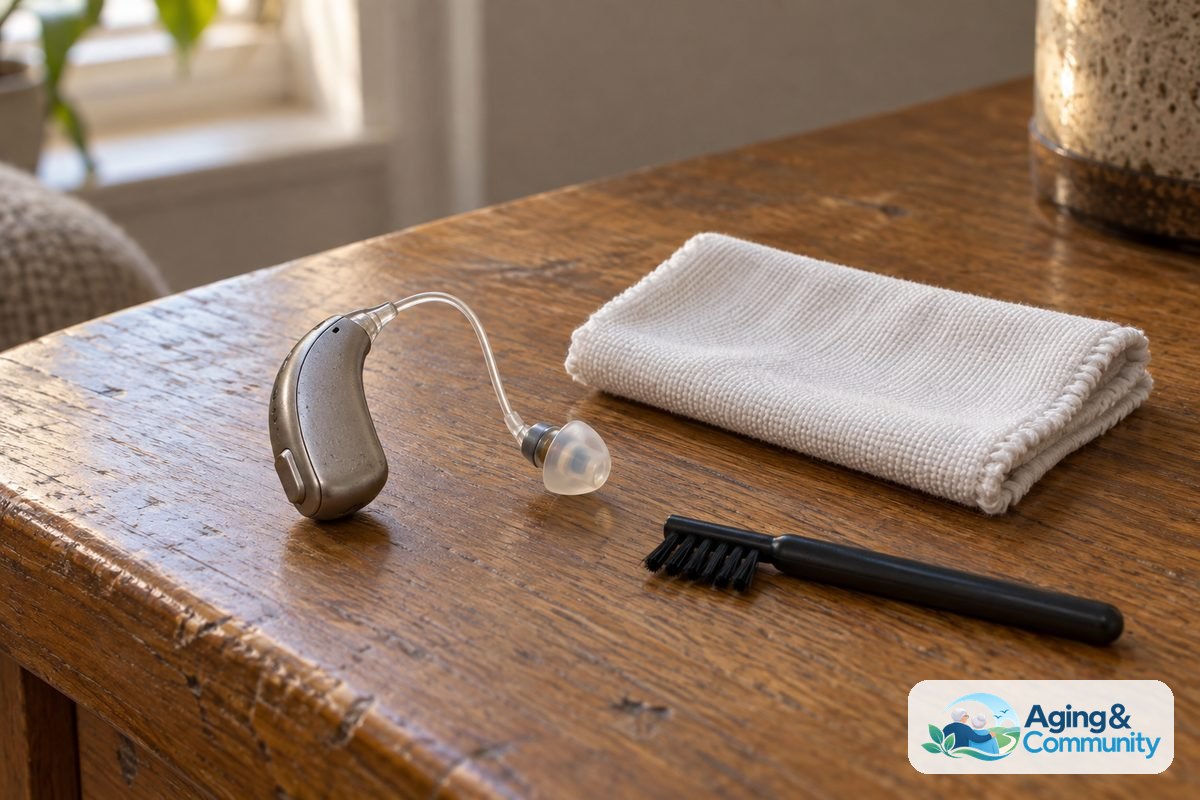
A few quick cleaning habits each evening can help your wax guards stay clean for several weeks at a time. Learning how to use hearing aid cleaning tools makes maintenance easy. When you take your hearing aids out at bedtime, wipe the outside of each dome with a dry, soft cloth or tissue. This removes fresh oils and wax while they are still soft.
You can also brush the tip with a small bristled tool. Brush with the sound opening pointing downward toward the floor so any loosened flakes fall onto the table rather than into the sound hole. Understanding how to use hearing aid cleaning tools properly will keep the sound channel clear and extend the life of each guard. Incorporating these simple steps into your bedtime routine is an easy way to support aging in place with comfort and self-reliance.
Frequently Asked Questions
How often should I change my hearing aid wax guards?
Most people replace their wax guard once a month. However, if your ears produce a lot of wax, you may need to change it every two weeks or whenever the sound becomes dull. Inspecting the guard weekly allows you to swap it out before sound cuts off completely.
Can I clean and reuse a wax guard?
No, you should never wash or reuse a wax guard. The mesh screen inside is microscopic, and water or rubbing alcohol cannot safely clear out dried wax. Trying to poke wax out will push debris straight into your hearing aid speaker.
What should I do if the new wax guard will not stay in?
If the new guard falls out of the sound port, check to ensure you are using the correct brand and model for your device. If the size is correct, the speaker housing may be slightly worn or stretched. Contact your hearing care specialist so they can examine the receiver tip.
Are all hearing aid wax guards the same size?
No, wax guards come in several different shapes, sizes, and dispensing wheels. Major manufacturers use specific systems such as CeruStop, CeruShield, or ProWax. Always review your user manual or check with your provider before buying replacements.
Does earwax mean my ears are dirty?
Not at all. Earwax is a natural substance that coats and protects the sensitive skin inside your ear canal. Some people naturally make dry wax, while others make moist wax. Having wax on your hearing aid is simply a sign that your ears are doing their regular job.